Ferns in the Shower – House Plant Journal

Ferns in the Shower

Creating a fern garden in my shower
IMG_20181223_202143.jpg

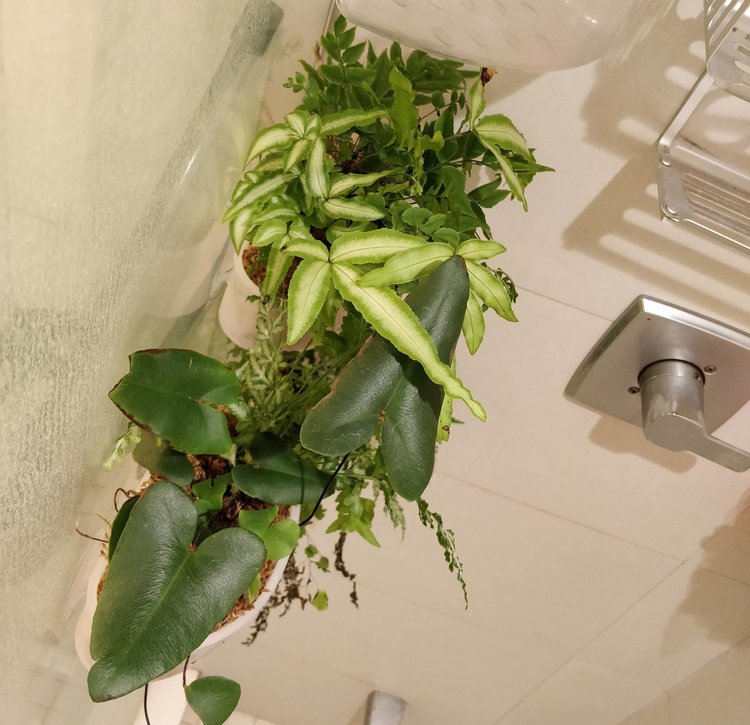
I had always dreamed of creating a wall-mounted garden in my shower with a mixture of humidity-loving ferns. Two people’s daily shower (my wife and I) would provide ample moisture to the planting medium and since there are no windows, the LED grow light would drive the photosynthesis. Since the bathroom has no windows, I made the on/off cycle go opposite from the actual day/night cycle – in this way, the light would be on overnight, acting like a night light and off during the day.

Ferns used for the project:

  • Silver lace fern (Pteris ensiformis ‘evergemiensis’)
  • Heart fern (Hemionitis arifolia)
  • Dwarf Japanese Holly Fern (Cyrtomium fortunei – I think)
  • Ribbon fern (Pteris cretica)
  • Maidenhair fern (Adiantum capillus-veneris – I think)
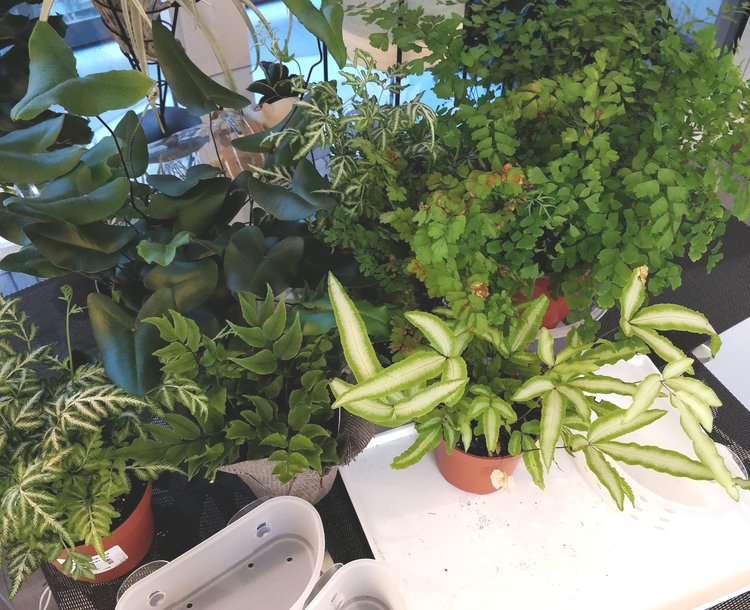
Clockwise from top-left corner: Heart fern, silver lace fern, maidenhair fern, ribbon fern, dwarf Japanese Holly fern, and another silver lace fern.
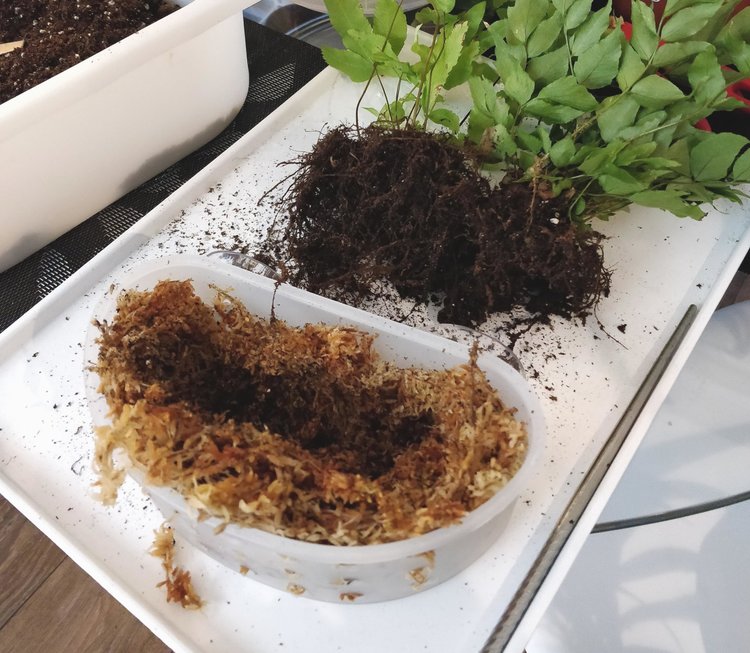
Planting medium: Sphagnum moss - the one I use comes as a compressed, dry block. Soaking it in a tub of water will get it to expand to several times its size.
Planting medium: Sphagnum moss – the one I use comes as a compressed, dry block. Soaking it in a tub of water will get it to expand to several times its size.

Product Link: Sphagnum Moss (100 grams)

I made combinations of ferns for each planter:

  • Ribbon fern + Holly fern
  • Heart fern + Silver Lace fern
  • Maidenhair fern + Silver Lace fern
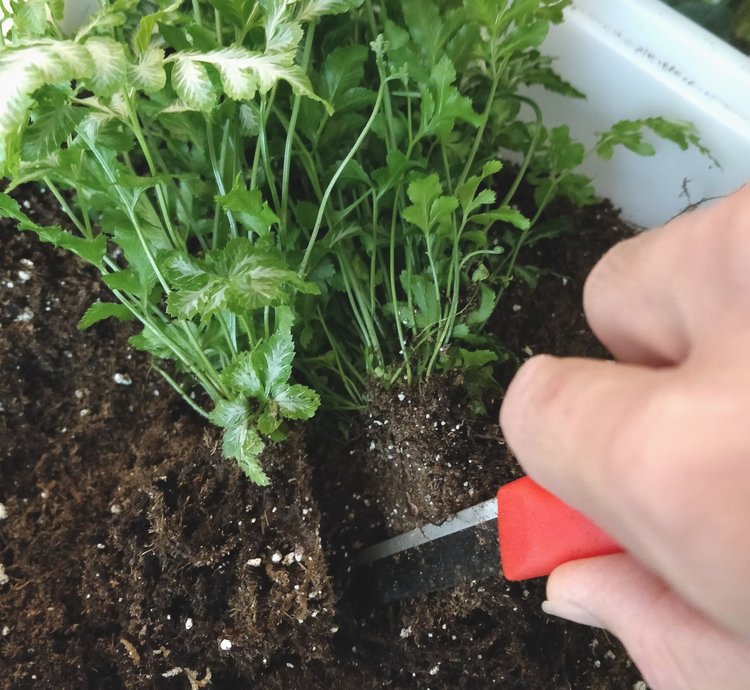
Root division: I had to divide the ferns in order to get combinations in each planter. With such crowded stems, it was easiest to just use a sharp knife to cut UPWARDS into the base of the root ball. Once I could gently pull the root ball apart, the foliage could be gently teased apart.
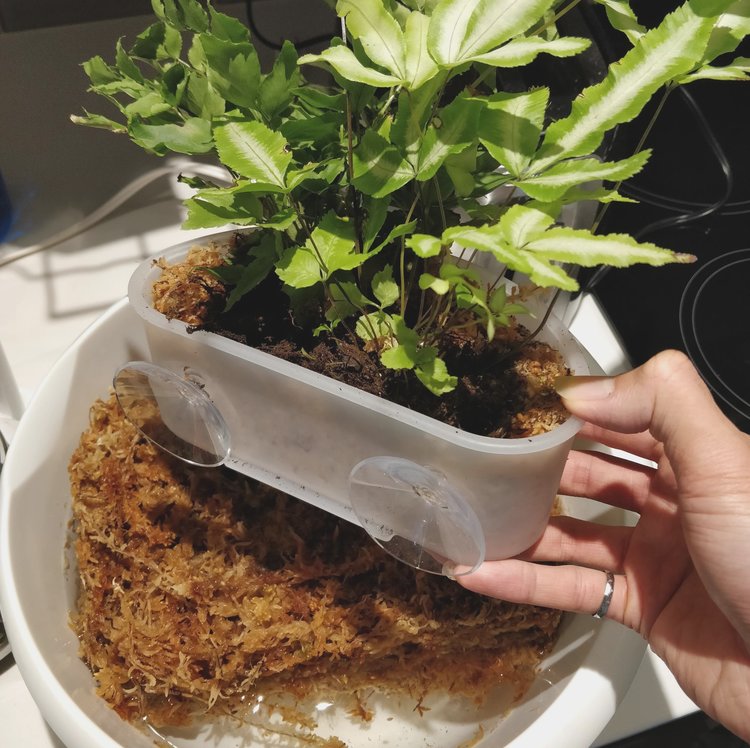
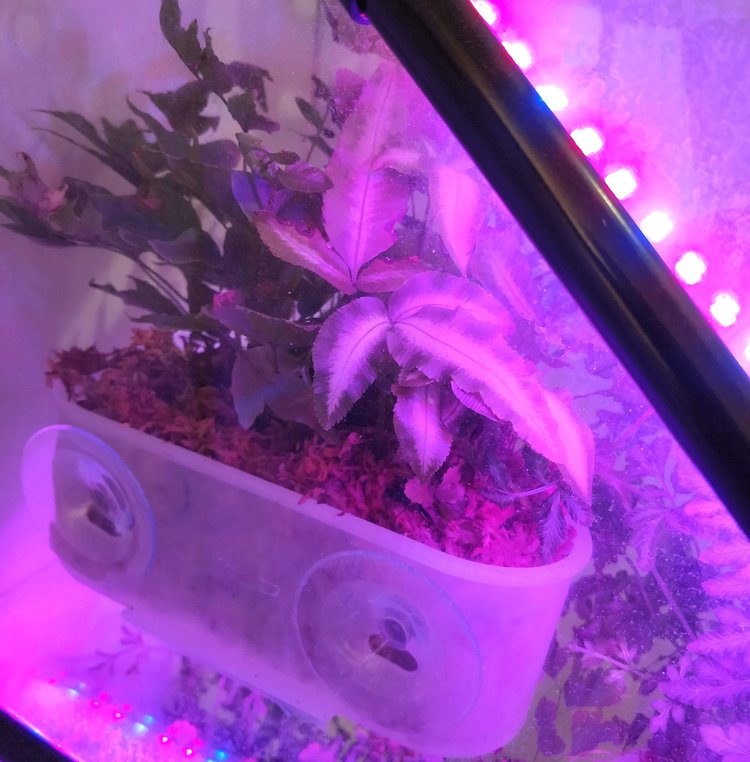
Planting: I created a bed of sphagnum moss in the caddy and placed the ferns into the crevice, after having shook off as much of the old soil as possible. I have no idea if these ferns can grow in pure sphagnum moss like my staghorn fern but I'm up for experimentation.
Planting: I created a bed of sphagnum moss in the caddy and placed the ferns into the crevice, after having shook off as much of the old soil as possible. I have no idea if these ferns can grow in pure sphagnum moss like my staghorn fern but I’m up for experimentation.
Once the ferns are in place, I stuffed more sphagnum moss to fill up the rest of the caddy. I'd say it was packed in snuggly as opposed to loosely.
Once the ferns are in place, I stuffed more sphagnum moss to fill up the rest of the caddy. I’d say it was packed in snuggly as opposed to loosely.

Product Link: Bathroom Suction Shower Caddy – Pack of 3, Clear
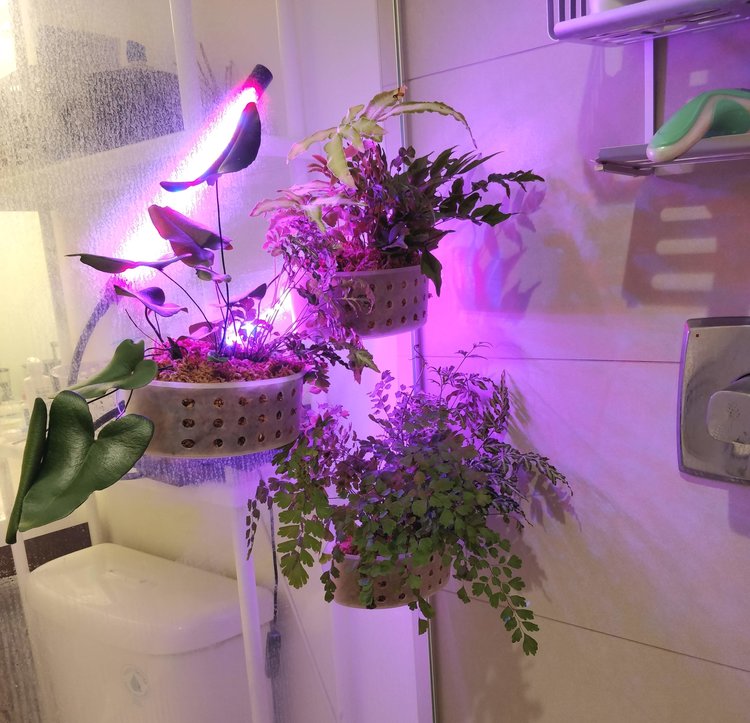
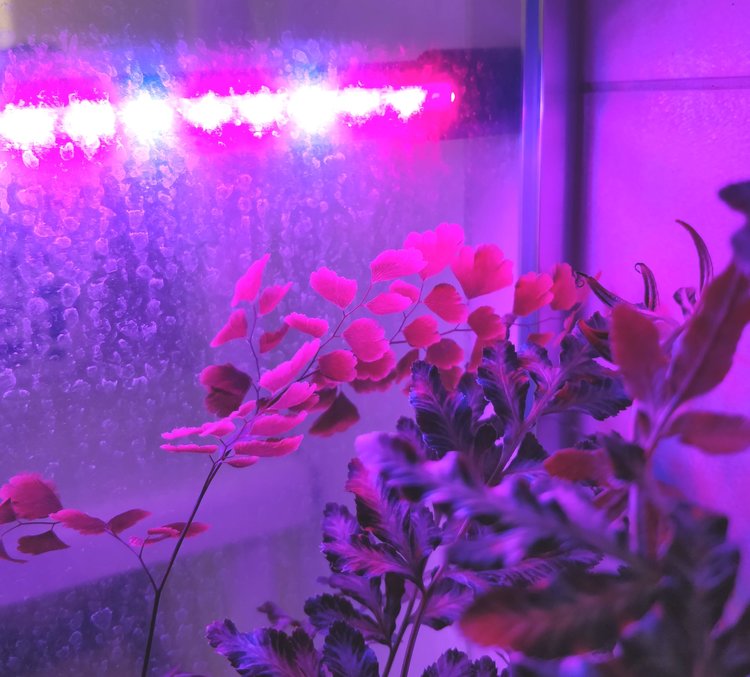
LED Lighting: because of the shower glass, I could safely position the LED light on the outside of the shower and still deliver light to the plants on the inside.

Product Link: Grow Lights – Three Head Auto On/Off Timing 360° Flexible LED Plant Grow Lamp, 5 Adjustable Luminious Levels and 12 Switch Modes

1 Week: noticing some new growth from the Silver Lace fern
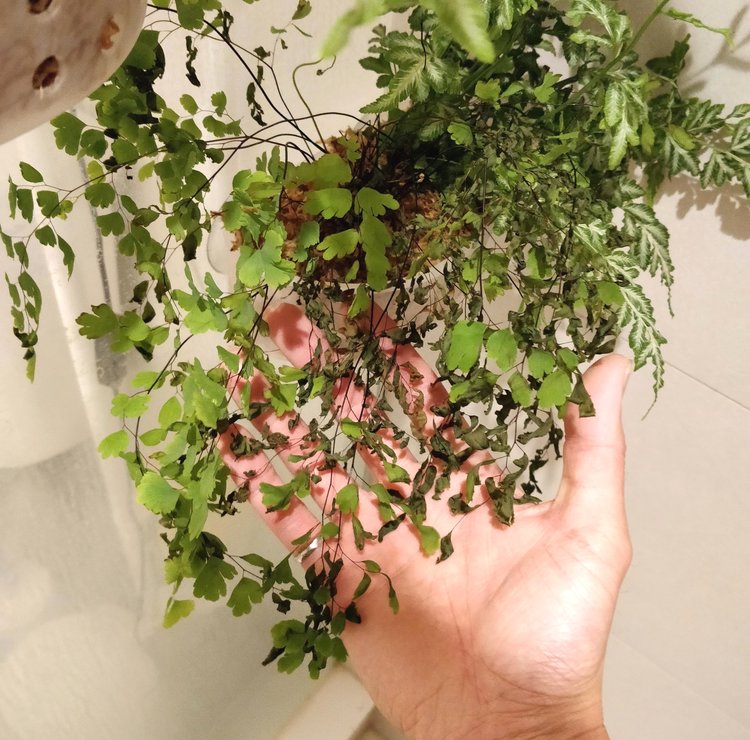
2 Weeks: the sphagnum moss gets moistened from deflected water droplets from the shower (the shower doesn't spray directly onto the planters) but this doesn't seem to bode well with the Maidenhair fern: the most exposed foliage is dying back...
2 Weeks: the sphagnum moss gets moistened from deflected water droplets from the shower (the shower doesn’t spray directly onto the planters) but this doesn’t seem to bode well with the Maidenhair fern: the most exposed foliage is dying back…
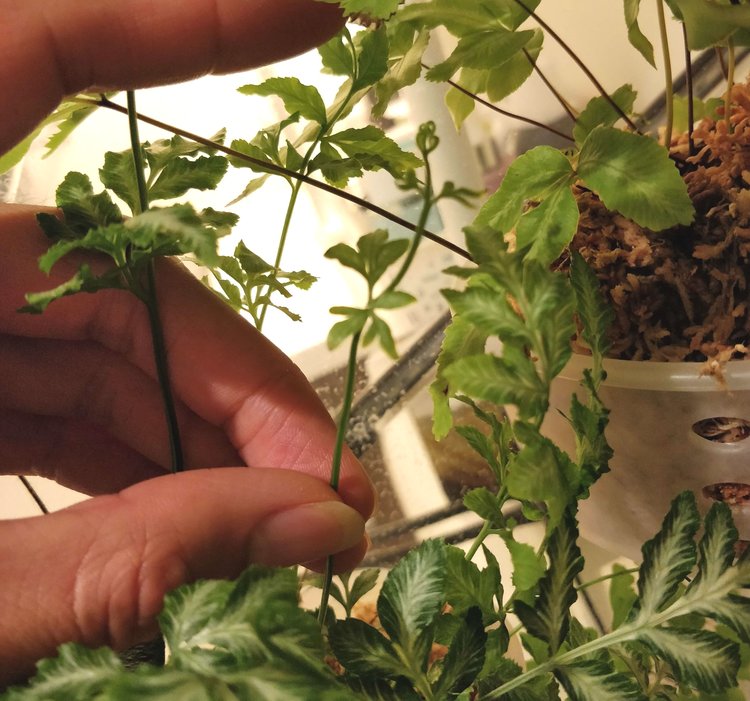
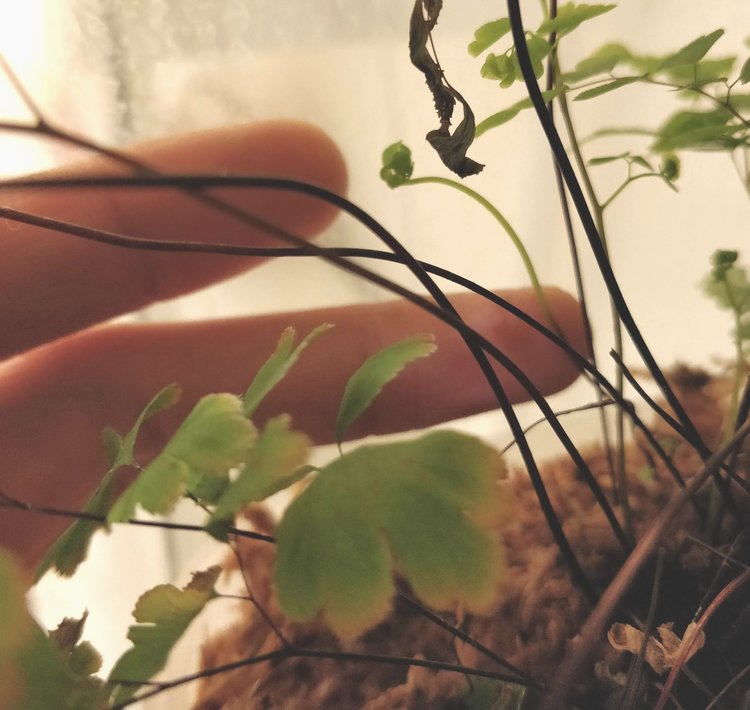
1 Month: ...but not to worry, the Maidenhair is pushing up new fronds that sit farther away from the edge of the planter, protected from getting as much shower spray. Hopefully these ones will last longer.
1 Month: …but not to worry, the Maidenhair is pushing up new fronds that sit farther away from the edge of the planter, protected from getting as much shower spray. Hopefully these ones will last longer.
2 Months: the Maidenhair has fully developed new fronds that sit away from the outer edge of the planter, a bit more protected from the water droplets.
Ribbon fern is also doing quite well after 2 months.

Light schedule: I turn on the lights in the evening at around 7pm. They stay on overnight until I shut them off at about 8am. Thus, the dark phase for these plants is during our daytime as the bathroom doesn’t have windows. In this way, the pink light acts like a night light so we’re not stumbling to the bathroom in the middle of the night.

I’d recommend this setup if you have a windowless bathroom with a glass-separated shower stall – this is necessary since you don’t want the LED light fixture getting wet. I find the LED light, having only 2 strips of bulbs, was somewhat limiting since the light intensity drops off significantly even just six inches away. Someday, if I expand this shower planting, I might consider getting the 3-strip LED grow light. Overall, I’m happy with how the Shower Fern project turned out!

Thanks for reading!

Note: product links are affiliate links that help to support HPJ content.

P.S. Overwatering? This planting is a testament to my stance that the word “overwatering” is a misleading word, which has only served to confuse plant parents. The soil (or moss in this case) is a sponge that can hold a certain amount of water. The plant will use up that water if it receives enough light to drive photosynthesis. With each passing day, some moisture is used up in exchange for sugars produced by photosynthesis. A plant will die from root rot if the following conditions are met: roots are weak and suffocating in a stale, moist environment. So to prevent this, the answer is NOT to avoid the moist environment by watering less. We must address the weak and suffocating roots: adequate light = sugar production = plant health. Soil aeration = root health. Trying to be careful about watering an inadequately lit plant is useless – the plant is starving and on its way to die. Prioritize your light and your watering will work.

Tags